
[ad_1]
Do you want to add no right-click to your WordPress images?
If you’re a photographer, artist, or content creator, then you’re probably worried about people stealing your images. While it’s difficult to completely stop image theft, you can make it more difficult for people to steal pictures from your website.
In this article, we’ll show you how to add no right-click on WordPress images and galleries.

Why Add No Right-Click on WordPress Images?
The Internet has made it easier to share your work with the world, but it’s also made it easier for people to steal your images.
These people might use your content to promote scams or fraudulent products. They might even sell your digital art and graphics online, making money from your hard work while you make none.
If you’re an online influencer or have a big social media following, then people might even steal your photos and impersonate you online. For example, they might pretend you’re an affiliate marketing partner.
Even if you simply write a WordPress blog, people might still use your personal photos as part of online scams like fake ads or reviews.
Scammers could even scrape your WordPress blog content and images, and then republish it on other websites. This duplicate content can damage your WordPress SEO.
While there’s no single solution that can completely prevent image theft, you can make your site a less attractive target.
With that being said, let’s see how you can add no right-click on WordPress images and galleries. Simply use the quick links below to jump straight to the method you want to use.
Method 1. How to Add No Right Click to All Your WordPress Images
The easiest way to protect your images is by using No Right Click Images. This free plugin allows you to disable right-clicking for images only, so users can still right-click on your other content including links.
You can also enable and disable right-click based on whether the visitor is logged into their account. This is perfect if you run a subscribers-only stock photo website or some other form of membership site.
First, you’ll need to install and activate the plugin. If you need help, then please see our guide on how to install a WordPress plugin.
Upon activation, go to Settings » No Right Click Images to configure the plugin settings.
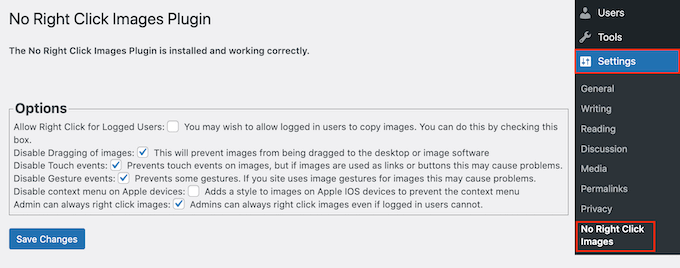
The default options should work for most users, but it’s still worth checking whether you need to make any changes. In particular, these settings can help you close any loopholes that people might use to get around the no right-click protection.
Out of the box, the plugin disables dragging images so users can’t copy an image by dragging it onto their desktop or another tab. With that in mind, we always recommend leaving ‘Disable Dragging of images’ checked.
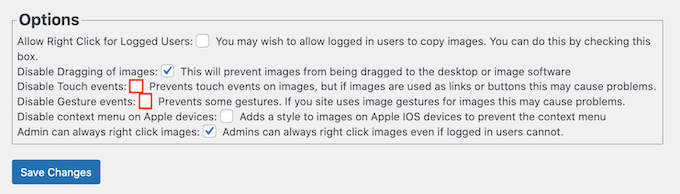
No Right Click Images also disables touch and gesture events, which can stop people from stealing images on devices that make use of those sorts of actions. However, this can cause problems if you use images as links or buttons, or if your visitors interact with your pictures using gestures, such as before-and-after images.
If you do encounter problems, then you can re-enable support for touch events and gestures by unchecking the following boxes: ‘Disable Touch events’ and ‘Disable Gesture events.’
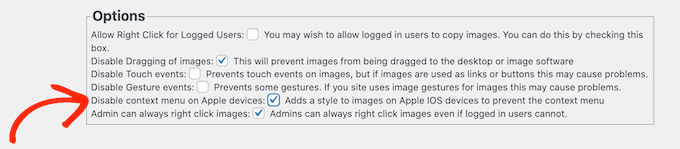
By default, visitors can still open a context menu and save your images on Apple devices.
That said, you may want to check the box next to ‘Disable context menu on Apple devices.’ This adds a style to images on iPhones and iPads, which stops users from opening the Apple context menu and stealing your images.
When you’re happy with how the plugin is set up, don’t forget to click on ‘Save Changes’ to store your settings.
You can now log out of your WordPress admin account and visit your website. Then, simply right-click on any image to check the plugin is working.
Method 2. How to Add No Right Click to Image Galleries
If you want to protect individual images across your website, then the first method is a good choice. However, sometimes you may want to create an image gallery in WordPress, and then disable right-clicking for the entire gallery. For example, you might build a photography portfolio or display your most popular products in a nice gallery layout.
This is where Envira Gallery comes in.
It is one of the best WordPress gallery plugins on the market and comes with a protection addon that disables the ability to right-click on any galleries you create using the plugin.
The first thing you need to do is install and activate the Envira Gallery plugin. For more details, see our step-by-step guide on how to install a WordPress plugin.
Upon activation, go to Envira Gallery » Settings and enter your license key.
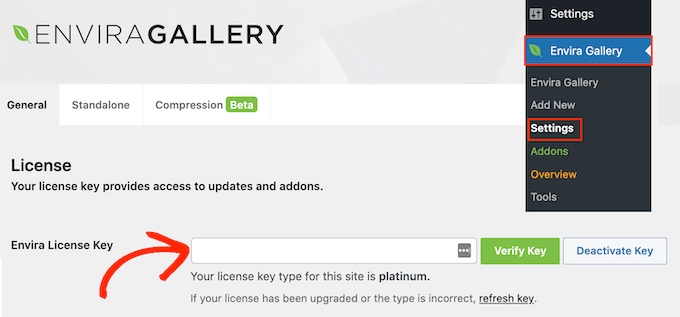
You can find this information under your account on the Envira Gallery website.
With that done, click on ‘Verify Key.’
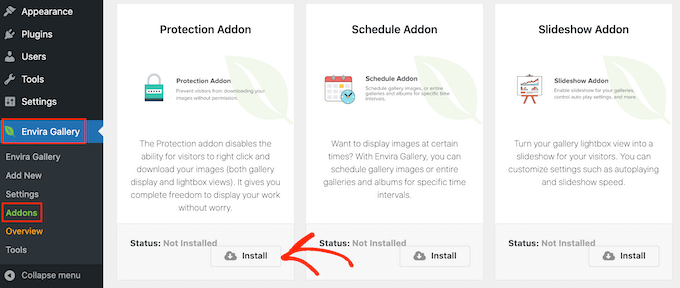
Next, head over to the Envira Gallery » Addons page. Here, find the Protection addon and click on its ‘Install’ button.
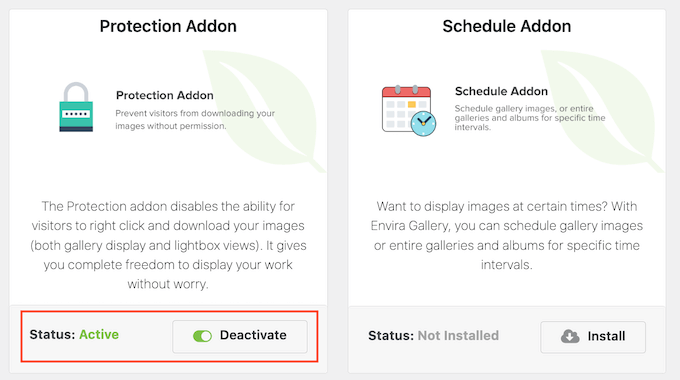
When you see the ‘Inactive’ slider, give it a click so it shows ‘Active’ instead.
After that, you’re ready to start creating protected image galleries.
To get started, go to the Envira Gallery » Add New page and type in a name for your gallery.
This is just for your reference so you can use anything that helps you identify the gallery in your WordPress dashboard.
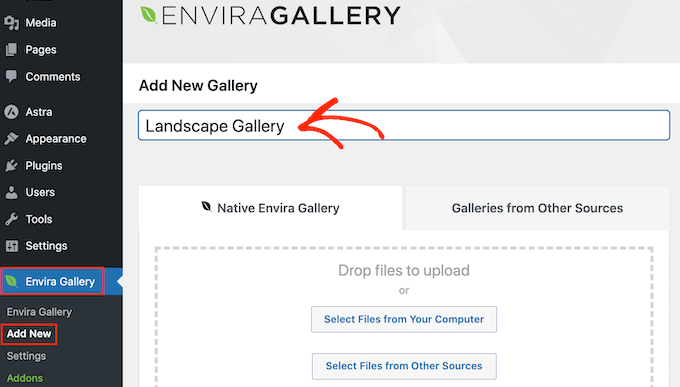
You’re now ready to add images to the gallery. You can click on ‘Select Files from Your Computer,’ or ‘Select Files from Other Sources’ and then choose images from the WordPress media library.
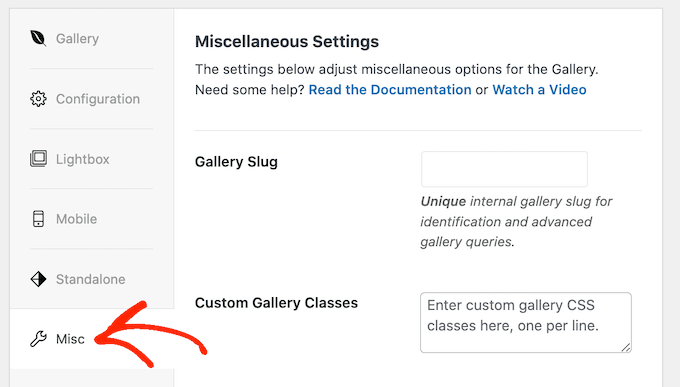
After that, scroll to the ‘Currently in your Gallery’ section and click on the ‘Misc’ tab.
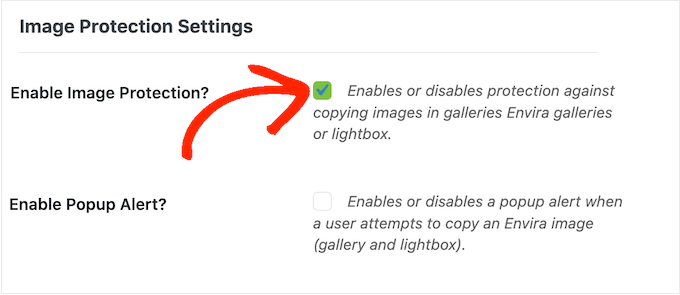
Under ‘Image Protection Settings,’ check the box next to ‘Enable Image Protection.’
This disables the right-click action for all your Envira galleries.
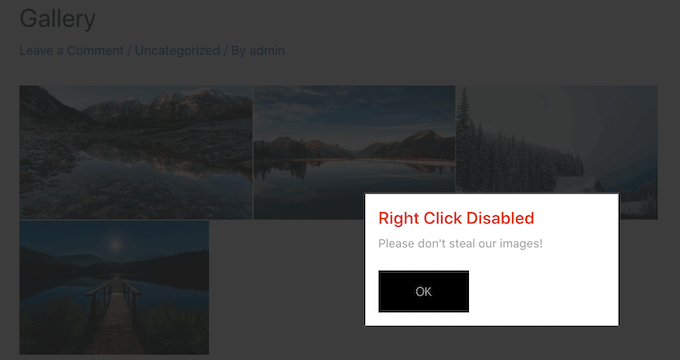
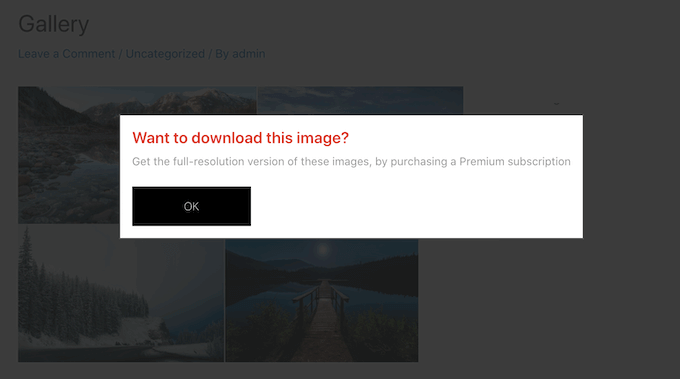
If a visitor tries to right-click a gallery, you may want to show a popup on your WordPress website. For example, you might let this person know your images are copyrighted, and can’t be downloaded without your permission.
If you’re selling your digital artwork or photos, then you can even use the popup to get more sales on your online store.
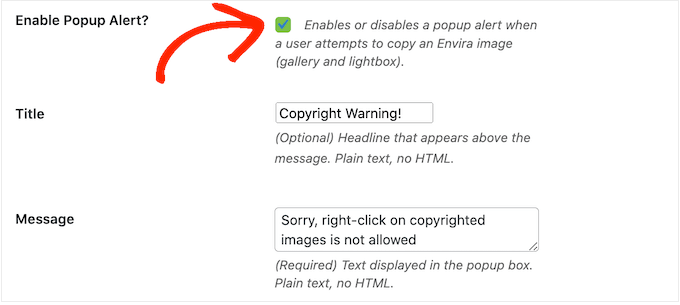
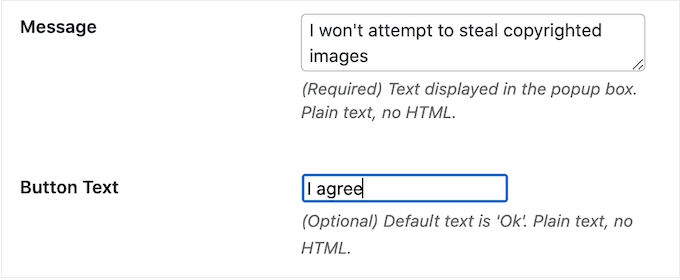
To create a popup, check the box next to ‘Enable Popup Alert.’
You can then type in a title and message.
By default, visitors will click an ‘OK’ button to close the popup.
You can replace ‘OK’ with your own custom messaging by typing into the ‘Button Text’ field.
When you’re happy with how the gallery is set up, click on ‘Publish’ to save your settings.
To add the gallery to your website, simply edit the post or page where you want to show the images and then click on the ‘+’ icon.
In the popup, type in ‘Envira Gallery’ and then click on the right block when it appears.
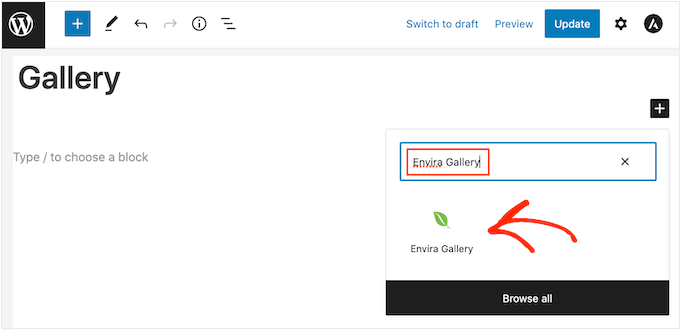
This adds the Envira Gallery block to the page.
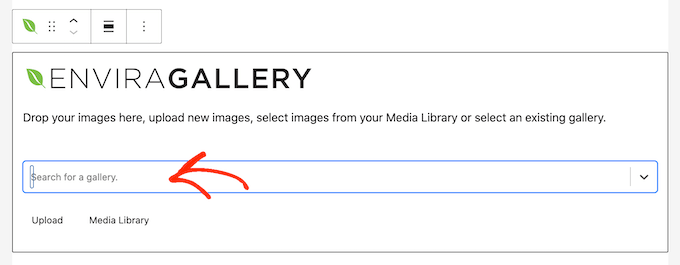
You can now open the dropdown menu and select the gallery you just created.
When you’re happy with how the page looks, either click on ‘Publish’ or ‘Update’ to make the protected gallery live.
Pros and Cons of Disabling Right-Click on WordPress Images
Disabling the right-click action makes it more difficult for people to steal your images. It also reminds users that they can’t simply download files without the owner’s permission.
Sometimes, this will be enough to stop people from stealing your photos. This is particularly true for scammers, who tend to look for easy ways to download as many images as possible. It can also discourage genuine visitors, who may assume they can download and use any online content.
However, there are still ways to get around a website’s no right-click protection. For example, users can still download an entire page.
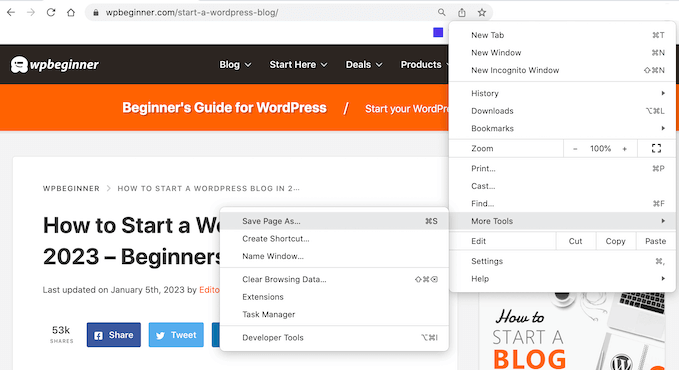
This will copy the page’s content into a file, including all the images.
People can even use their browser’s view source or inspect tool to directly access an image file without right-clicking.
With that in mind, you shouldn’t assume that disabling right-click is enough to keep your images safe.
On the other hand, some visitors may have a genuine reason why they need to download your images. For example, they may want to share your work with a potential future customer or post it on social media.
You might even allow people to reuse your images in specific ways, such as using your digital artwork on a non-profit website. In this case, disabling right-click can stop genuine users from accessing your images, which is a poor visitor experience.
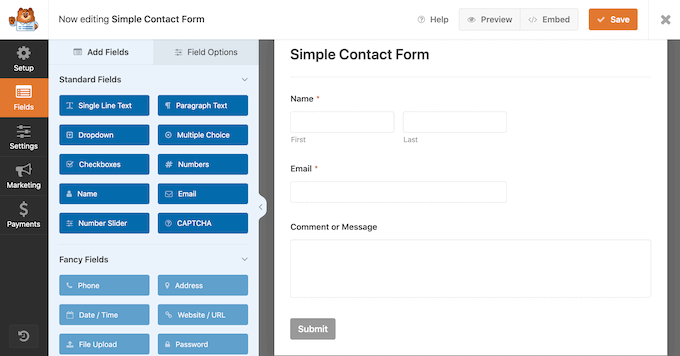
If you do add no right-click to your website, then we recommend giving people an easy way to request access to your images. You can do this by adding a contact form to WordPress using a plugin such as WPForms.
If there’s a chance your visitors may need immediate access, then you can also add live chat to your site. This allows people to send their requests and get a response in real time, which is a great user experience.
Alternative Ways to Discourage Image Theft on Your Website
When it comes to protecting your images, disabling right-click is a good first step. However, if you really want to stop thieves then we recommend taking some extra measures.
With that in mind, here are some additional ways to stop people from downloading, reusing, and selling images without your consent.
1. Add a Copyright Notice Below Your Images
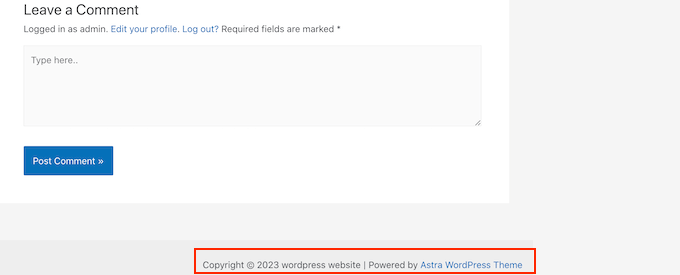
If you haven’t already, then you should add a copyright notice to your website. We recommend adding a dynamic copyright date to the WordPress footer so it appears on every page and always shows the current date.
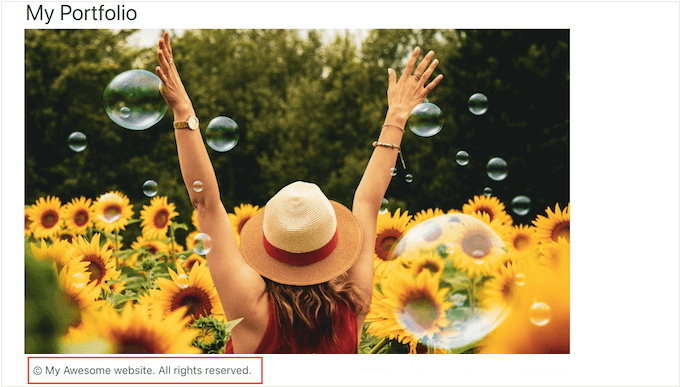
This is a great start, but it’s also a good idea to add a copyright notice below each image in plain text. This discourages people from stealing your photos, without affecting how that image looks on your website.
Some visitors simply assume they can download and re-use any images they see online. By adding a copyright notice, you can clear up any confusion and stop people from making this innocent mistake.
2. Add Watermarks to Your Images
Another option is adding a watermark to your images. This works great for stock photography websites where visitors expect to see a watermark, but your images might not look their best.
This can be a problem for some websites, particularly if you’re a photographer or digital artist who’s promoting their work.
For that reason, we recommend positioning your watermarks carefully so they discourage people from stealing the image, without ruining how that image looks on your website.
To learn more, please see our guide on how to automatically add watermarks to images.
3. Set Up Automatic Content Theft Notifications
Sometimes, websites will mention your business or brand name next to the stolen images, particularly if they’ve scraped an entire page from your site.
With that in mind, it’s a good idea to set up brand name notifications using a service such as Google Alerts. Simply head over to the Google Alerts page and type in the name of your site, brand, products, or any other important text.
If there’s a specific phrase or call to action that you add to every post, then you may also want to type this into Google Alerts.
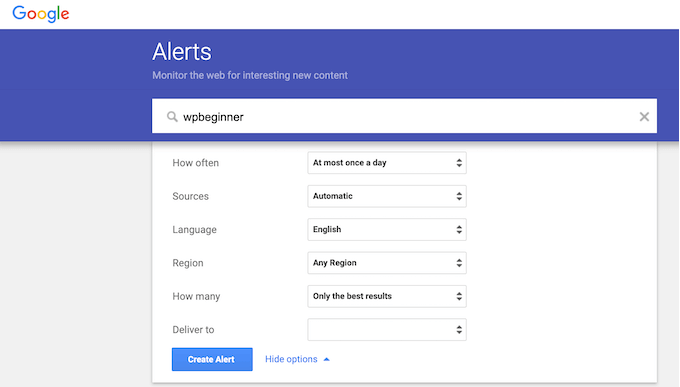
After that, use the dropdown menus to configure the alert and type in the email address where you want to get the notifications.
When you’re happy with how the alert is set up, go ahead and click on ‘Create Alert.’
Now, when someone publishes scraped content of yours, you will get an email letting you know about it.
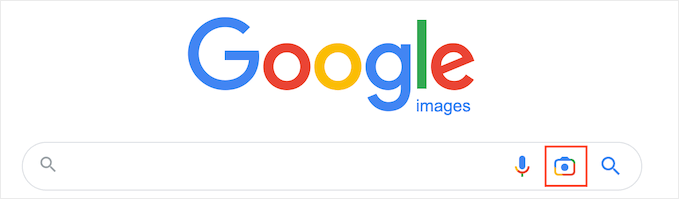
4. Reverse Image Search with Google
You can use Google image search to find all the places where a particular image is used online. Simply head over to the Google Images page and click on the small camera icon.
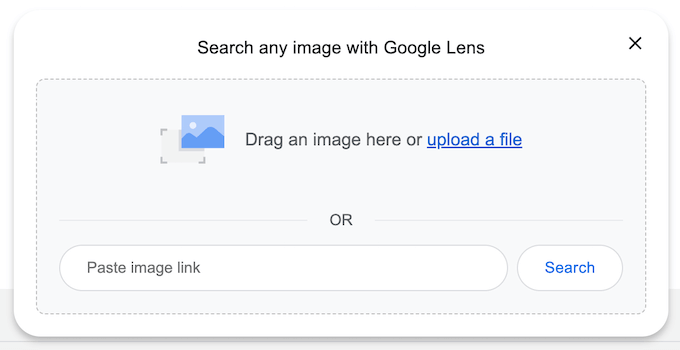
This will add a section where you can paste a direct link to the image or upload a copy from your computer.
After that, click on ‘Search.’
Google will now show all the images that are similar to your picture. If you find the exact image on another website, then you can click through to see how that picture is being used.
If you have lots of photos, then checking each one manually can take a lot of time and effort. However, Google reverse image is a great way to uncover sites that re-using your images, so it’s smart to do a search from time to time.
Alternatively, you can use an advanced reverse image service such as Pixsy.
5. Contact the Website’s Host or Registrar
If someone has stolen and re-published your images, then we recommend contacting that person. There’s a chance they may be unaware they’re using copyrighted images illegally.
However, if it’s a spam website then you may struggle to find contact information. Instead, you can use the IsItWP lookup tool to find out where the domain and website are hosted.

The tool will pull up any available information, including the web hosting company.
Stealing content is an illegal activity and most web hosting companies don’t want to host sites that are breaking the law. With that in mind, you can contact the host and registrar directly to try and get the site taken down.
Most reputable web hosting companies take DMCA (Digital Millennium Copyright Act) complaints seriously, so this method usually gets good results.
We hope this article helped you add no right-click on WordPress images. You may also want to see our ultimate WordPress security guide or check out our expert pick of the best Instagram WordPress plugins.
If you liked this article, then please subscribe to our YouTube Channel for WordPress video tutorials. You can also find us on Twitter and Facebook.
The post How to Add No Right Click on WordPress Images first appeared on WPBeginner.
[ad_2]
Source link