
[ad_1]
Do you want to create WooCommerce product galleries to add to blog posts or pages?
WooCommerce product galleries are an easy way to display your products outside your shop pages. It helps attract more customers and boosts conversions.
In this article, we will show you how to easily create a WooCommerce product image gallery (step by step).

Why Should You Create WooCommerce Product Galleries?
WooCommerce is the most popular WordPress eCommerce plugin in the market. It allows you to sell products by creating an online store.
Most WordPress themes for WooCommerce come with default templates for shop and shop category pages. These pages simply list your products using the theme’s style.
What if you wanted to create a product gallery and display it inside a blog post or another page on your site? By displaying your products in your popular blog posts and pages, you can increase your sales and conversions.
Let’s take a look at how to easily create WooCommerce product image galleries with Envira Gallery.
Creating WooCommerce Product Galleries with Envira
The best way to create a WooCommerce product gallery in WordPress is by using Envira Gallery. It is the best WordPress photo gallery plugin and makes it very easy to show products anywhere on your site.
The first thing you need to do is to install and activate the Envira Gallery plugin. For more details, see our step-by-step guide on how to install a WordPress plugin.
Upon activation, you need to go to the Envira Gallery » Settings page to enter your license key. You can find this information under your account on the Envira Gallery website.

Once the license key is verified, you can go to Envira Gallery » Addons to install and activate the ‘Featured Content’ addon.
This addon will allow you to display your WooCommerce products in the Envira galleries. Go ahead and click the ‘Install’ button under the Featured Content Addon.

Next, you need to go to the Envira Gallery » Add New page to create your new product gallery.
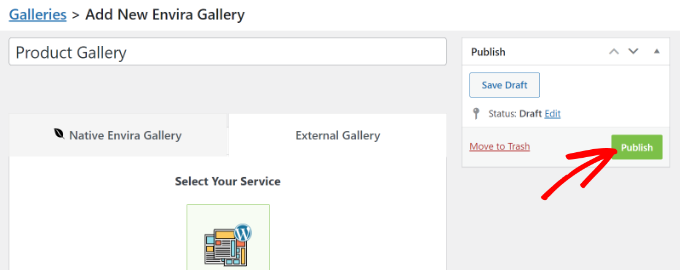
From here, you can start by adding a title for the new gallery.

After the title, you need to switch to the ‘External Gallery’ tab and click the ‘Featured Content’ option.
Next, scroll down to the ‘Images’ tab. In the ‘Select Your Post Type(s)’ field, you need to select the ‘Product’ option, which is the custom post type for WooCommerce products.

If you have hundreds of products, then you may want to create multiple galleries.
You can narrow down the gallery listings by selecting taxonomy terms for specific product tags or categories.

Simply repeat this process with different product tags and categories each time you create a new product gallery. The post type will always be ‘Product’ in all your WooCommerce product galleries.
You can also choose a taxonomy term relation to select and display specific products in your galleries.

For more details, you should check out our guide on how to create an image gallery in WordPress.
Once you are done, you can publish your product gallery which will make it available to be added anywhere on your WordPress site.
Adding WooCommerce Product Gallery in WordPress
Next, you can add a new post or page or edit an existing one to display your WooCommerce product gallery.
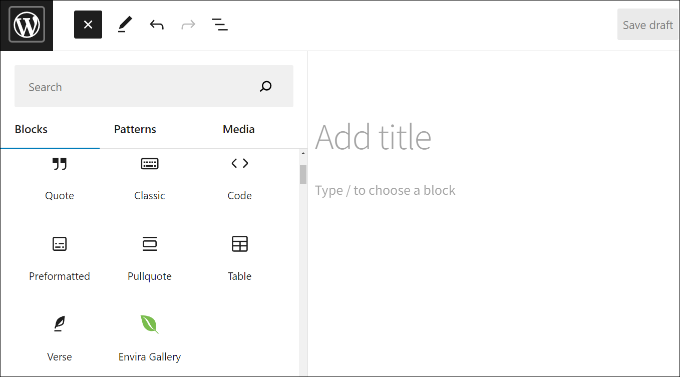
Once you’re in the content editor, simply click the ‘+’ button and add the Envira Gallery block.
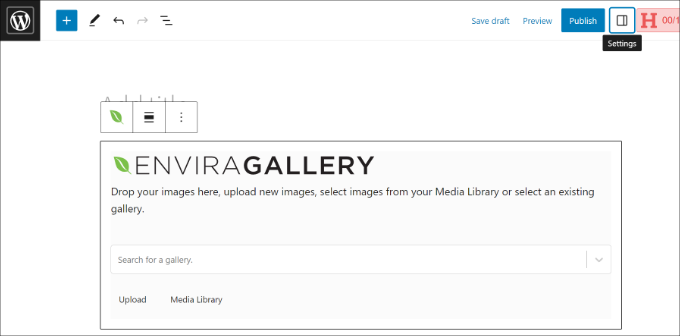
After that, you can select your product image gallery in the Envira Gallery block.
Simply click the dropdown menu and choose the gallery you created earlier.
You’ll now see a preview of your gallery in the block editor. If it doesn’t load, then don’t worry, you can simply preview your blog post or page to see if it’s working properly.
Next, you can save and publish your post. After that, visit your website to see the product gallery in action.

We hope this article helped you learn how to create a WooCommerce product image gallery. You may also want to check out our guide on the must have WordPress plugins for business websites and how to choose the best design software.
If you liked this article, then please subscribe to our YouTube Channel for WordPress video tutorials. You can also find us on Twitter and Facebook.
The post How to Create a WooCommerce Product Image Gallery (Step by Step) first appeared on WPBeginner.
[ad_2]
Source link