
[ad_1]
Do you want to embed a YouTube live stream on your WordPress website?
Embedding YouTube live streams on your WordPress site can increase engagement by allowing visitors to interact with you and your content in real time.
In this article, we will show you how to easily embed a YouTube live stream in WordPress.

Why Embed YouTube Live Streams in WordPress
Live streaming allows you to broadcast live video or audio content over the internet, enabling users to watch the video in real-time.
Embedding a YouTube live stream on your WordPress website is an excellent way to connect with your audience and reach more users.
It can also increase user engagement by allowing you to interact with site visitors.
A YouTube live stream can also help boost website SEO and attract more traffic. Research has shown that blog posts with at least one video get around 83% more visitors than content without any.
That being said, let’s see how you can easily embed a YouTube live stream in WordPress.
How to Embed a YouTube Live Stream in WordPress
The easiest way to embed a YouTube live stream is by using Smash Balloon’s YouTube Feed Pro plugin.
It is the best WordPress YouTube feed plugin that allows you to embed YouTube videos and live streams on your website.
First, you need to install and activate the YouTube Feed Pro plugin. For more instructions, please see our beginner’s guide on how to install a WordPress plugin.
Note: YouTube Feed also has a free version. However, it does not support the Live Stream feature.
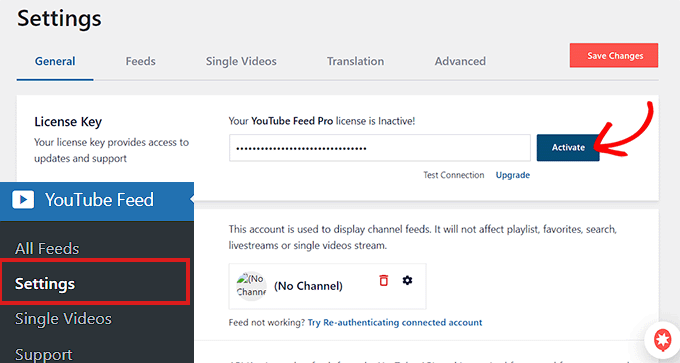
Once the plugin has been activated, you need to visit the Youtube Feed » Settings page from the admin sidebar. Here, you need to enter the license key and click on the ‘Activate’ button.
You can get the license key from your Accounts page on the Smash Balloon website.
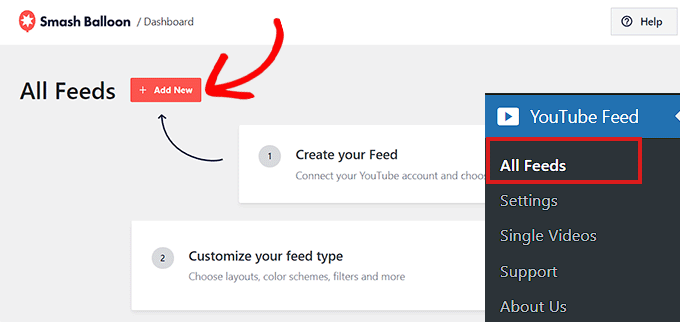
Next, you need to visit the YouTube Feeds » All Feeds page from the WordPress admin sidebar.
From here, simply click on the ‘Add New’ button at the top.
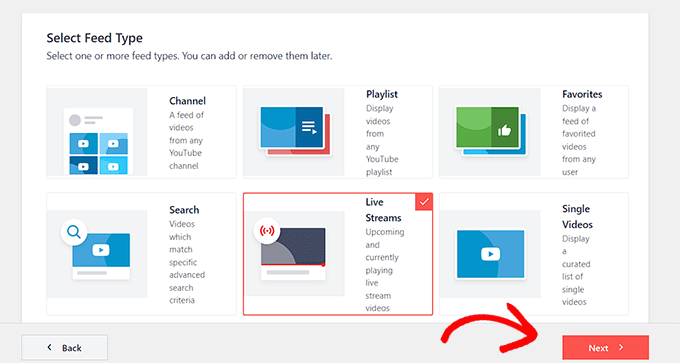
This will open up the ‘Select Feed Type’ prompt.
Now, you need to choose the ‘Live Streams’ option and then click on the ‘Next’ button to continue.
On the next step, you need to connect YouTube Feed Pro with your Youtube account. You will be asked to provide your YouTube API key.
If you already have an API key, simply copy and paste it into the ‘Enter API Key’ box and click on the ‘Add’ button.

Create a YouTube API Key
If you don’t have an API key yet, then you need to go to the Google Cloud Console and sign in using your Google account.
Once you are logged in, click on the ‘Select a project’ button at the top.
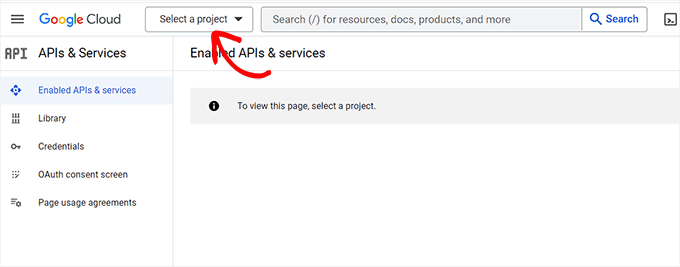
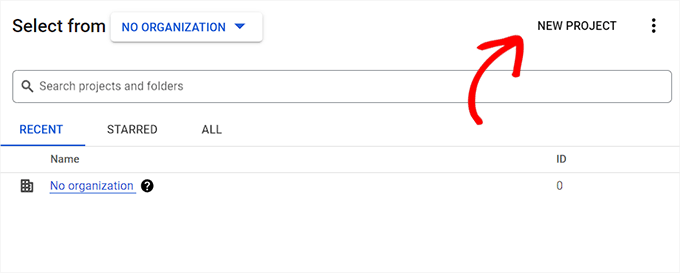
This will open a popup window that will display all the projects that you have created.
Next, simply click on the ‘New Project’ button at the top.
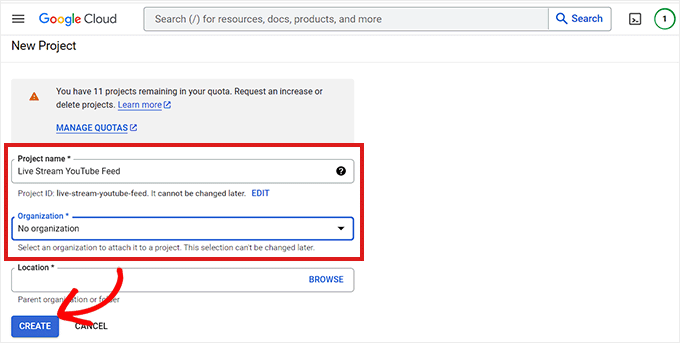
This will take you to the ‘New Project’ page, where you can start by typing in a name for your project. This can be anything that will help you easily identify it.
Next, you must also select an ‘Organization’ and its location from the dropdown menu. You can select ‘No Organization’ and click the ‘Create’ button to continue.
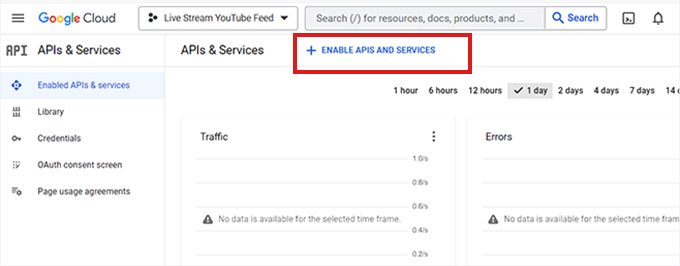
Once the project has been created, you will be taken to the project dashboard.
From here, you need to click on the ‘+ Enable APIs And Services’ button in the top menu.
This will take you to the API Library page. It shows the different Google services that you can create APIs for and use in your projects.
Now go ahead and search for ‘YouTube Data API v3’ in the search box.
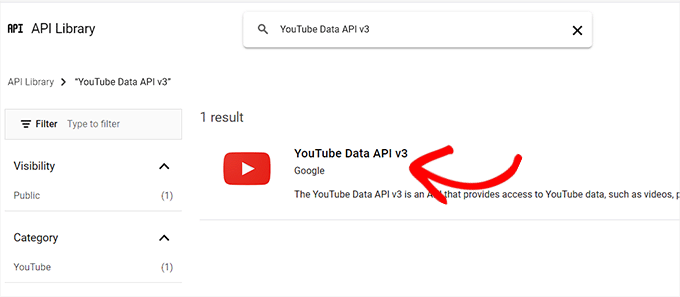
Once the ‘YouTube Data API v3’ result shows up, just click on it.
This will take you to a new page where you need to click on the ‘Enable’ button to activate the YouTube API key.
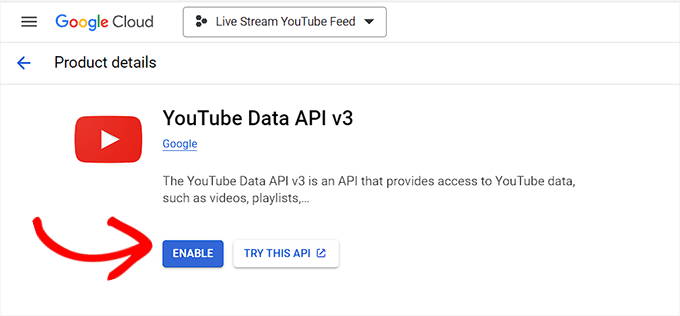
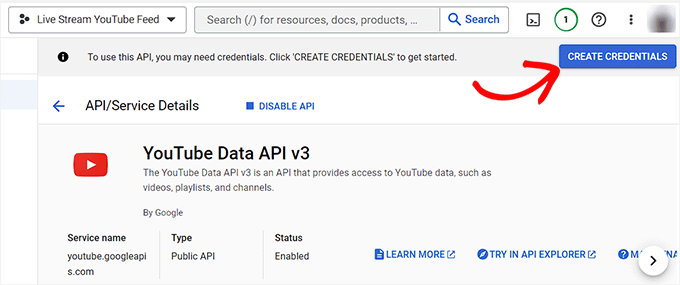
You’ll now be taken to the ‘API/Service Details’ page.
From here, simply click on the ‘Create Credentials’ button at the top.
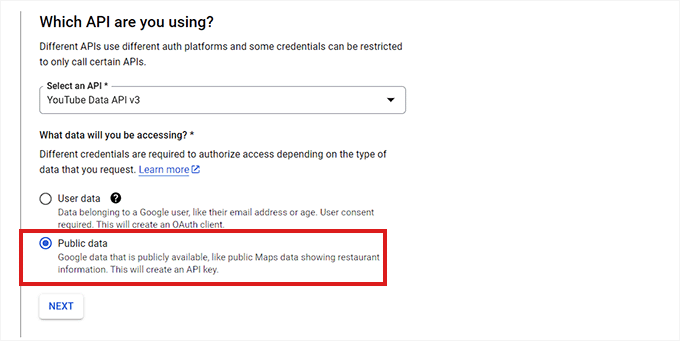
Next, you’ll be directed to a new page where you must check the box next to the ‘Public Data’ option.
After that, click on the ‘Next’ button to create your API.
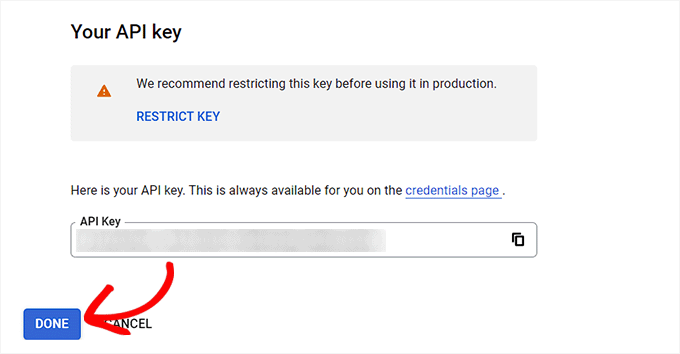
Your API Key will now be created and displayed on the page.
Simply copy the API key and click on the ‘Done’ button.
Next, it is time to head back to the WordPress dashboard.
Go ahead and paste the API key into the API Key Required box. Then, click on the ‘Add’ button to continue.
Add the YouTube Live Stream to Your WordPress Website
Once you’ve added your YouTube API key, you will be redirected to the ‘Select Feed Type’ page.
From here, you need to click on the ‘Live Stream’ option again, followed by the ‘Next’ button.
This will open the ‘Add Channel ID For Live Stream’ page.
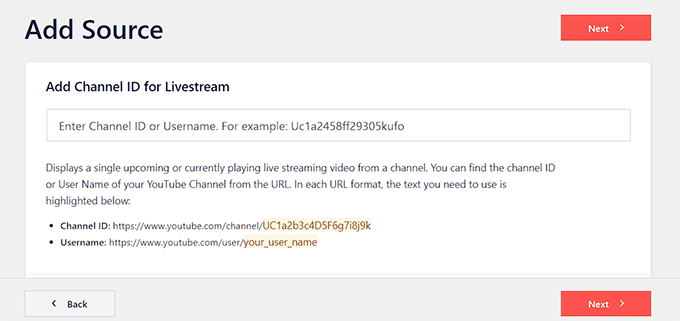
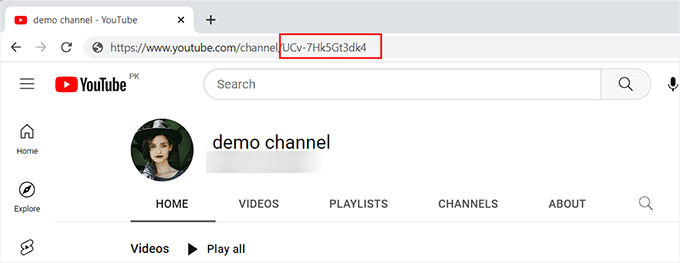
Now, you need to visit the YouTube channel that contains your live-stream videos.
From here, go ahead and copy the text that comes after ‘/channel/’ or ‘/user/’ in the URL at the top.
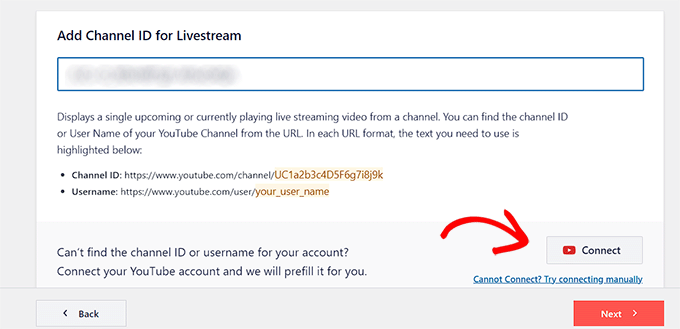
Next, switch back to the WordPress dashboard and paste the code into the ‘Add Channel ID for Livestream’ box.
After that, click on the ‘Connect’ button to connect your YouTube channel with WordPress.
Once the channel is connected, you need to click on the ‘Next’ button to continue.
Customize Your YouTube Feed
Now that your YouTube live stream feed has been created, you can customize it. Smash Balloon’s YouTube Feed Pro offers many different display options.
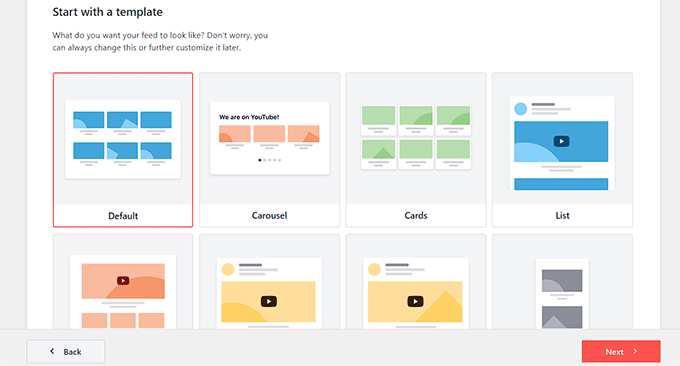
First, you will need to choose a template on the ‘Start with a template’ page. You can choose from Default, Carousel, Cards, List, Gallery, and Grid layouts.
Once you have made your choice, simply click on the ‘Next’ button.
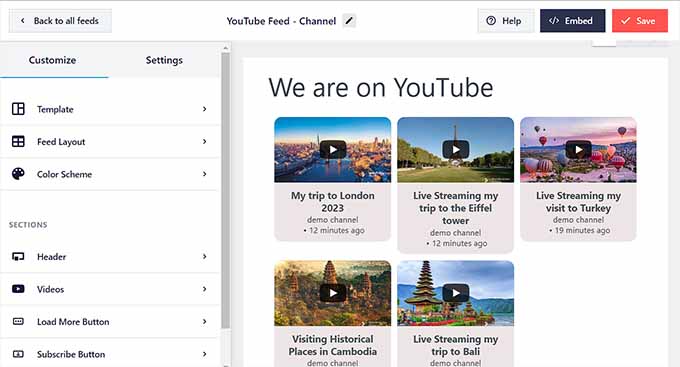
After you have chosen a template, an editing screen will open up that displays a preview of your YouTube feed to the right and customization settings in the left menu column.
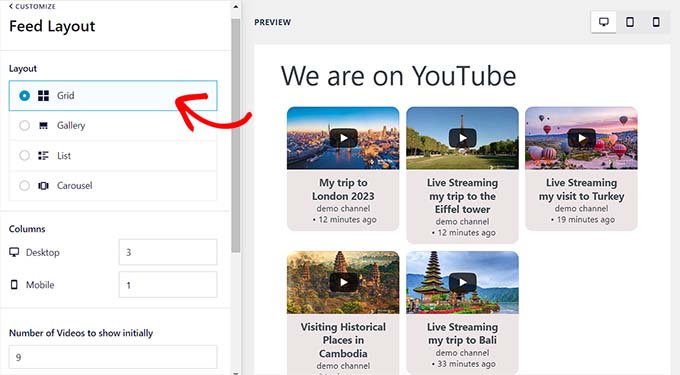
Here, you can start by expanding the ‘Feed Layout’ panel.
On this screen, you can switch between the layouts.
You may also be able to configure additional settings depending on your chosen layout.
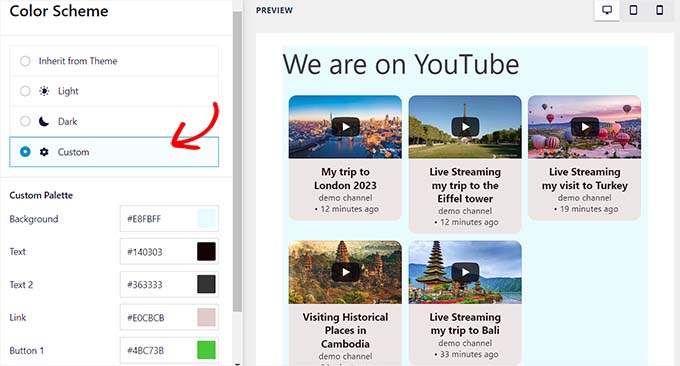
Next, you need to click on the ‘Color Scheme’ panel.
By default, YouTube Feed Pro uses the same color scheme as your WordPress theme. However, you can also use a ‘Light’ or ‘Dark’ color scheme for the video feed.
You can also design your own color scheme by clicking on the ‘Custom’ option and then using controls to change the background, text, and link colors.
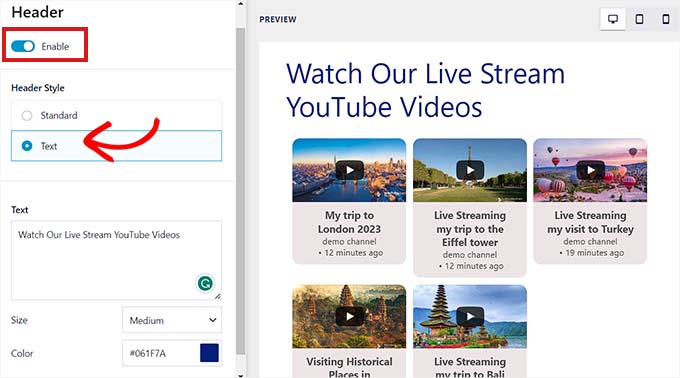
To add a header to your YouTube feed, you need to visit the ‘Header’ panel. From here, simply toggle the ‘Enable’ switch to activate the header.
You can also use the controls to switch between standard and text header styles. Choosing the ‘Text’ option will allow you to change the text size and color.
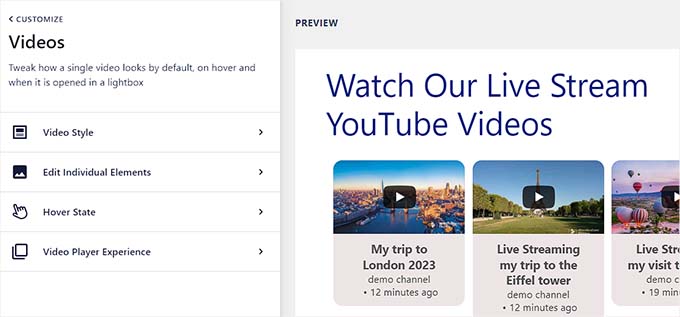
You can also customize the appearance of the video player by going to the ‘Videos’ panel.
Here, you will see a list of options.
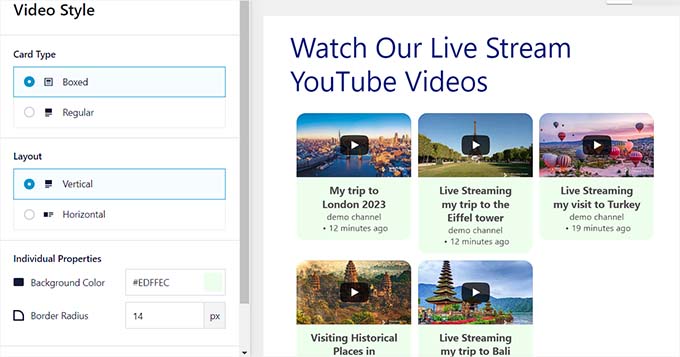
To customize the video layout and individual properties, you need to visit the ‘Video Style’ settings panel.
Here, you can select the video layout, background color, and border.
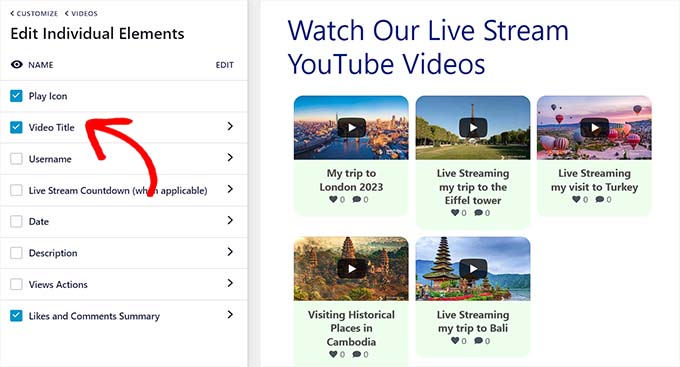
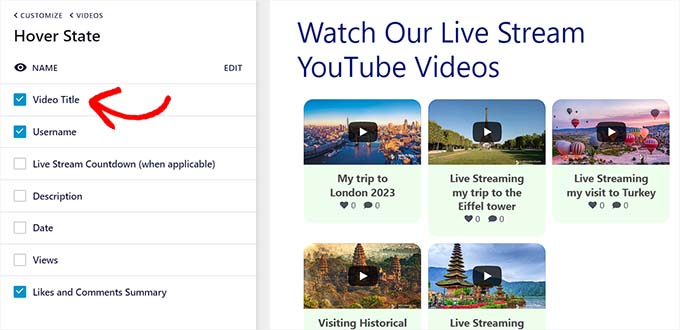
After that, open the ‘Edit Individual Elements’ panel. Here, simply check the boxes next to the elements you want to display along with the YouTube live stream videos.
You can show or hide the Play icon, video title, live stream countdown, descriptions, and more.
Next, you need to head over to the ‘Hover State’ setting. Here, you can choose the individual elements that will display when the user hovers their mouse over the YouTube video.
You can pick many elements, including video title, description, date, views, and more.
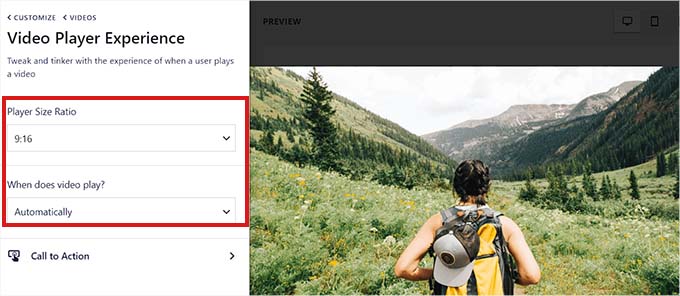
After that, you need to visit the ‘Video Player Experience’ panel.
From here, you can change the video player’s aspect ratio. You can also choose whether the video will start playing automatically or wait until the visitor clicks the play button.
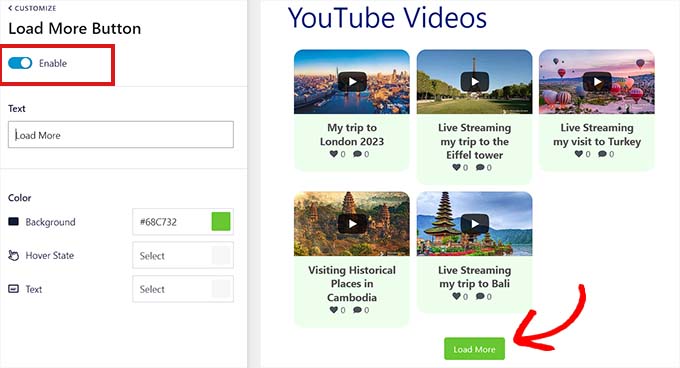
After customizing the individual video elements, switch to the ‘Load More Button’ panel.
Here, under the ‘Load More Button’ setting, you can switch the toggle to ‘Enable.’ This will display more video suggestions after the live stream.
You can also choose the background color, hover state, and text from the settings in the left panel.
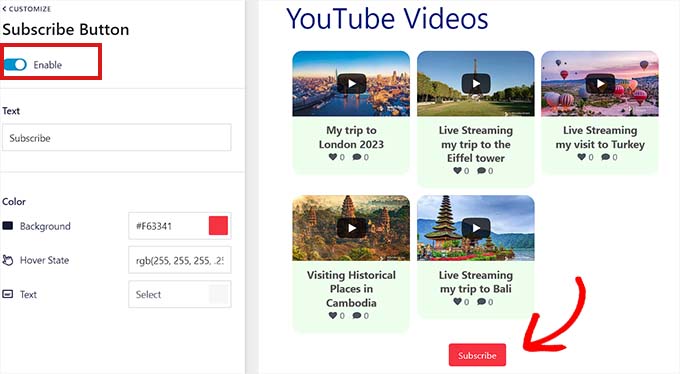
After that, switch to the ‘Subscribe Button’ panel and toggle the switch to ‘Enable’ if you want to activate the YouTube subscribe button.
You can also change the button’s color, text, and hover state in the settings.
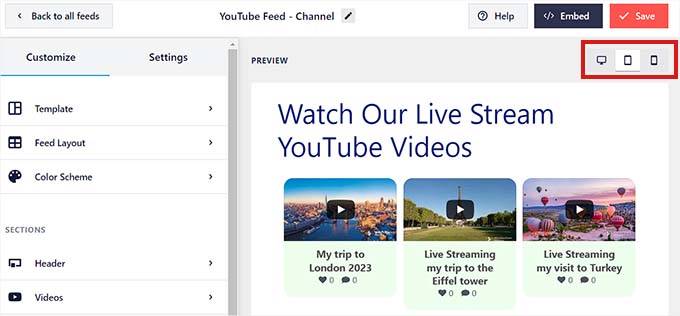
Once you have customized the YouTube live feed, you can preview how it will look on desktop computers, tablets, and smartphones. Simply click on the different buttons in the upper-right corner to preview the feed on different devices.
Finally, don’t forget to click the ‘Save’ button at the top to save your changes.
Embed the YouTube Live Stream on a WordPress Page
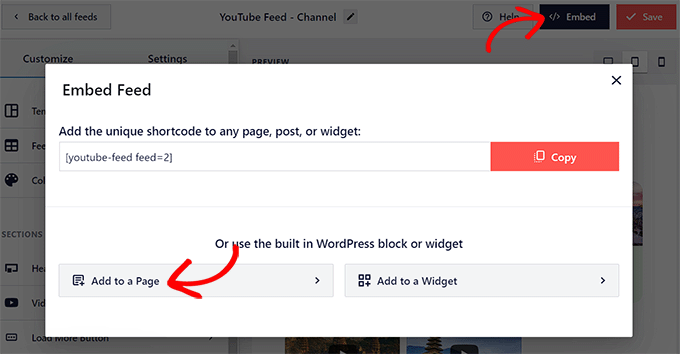
The next step is to embed your YouTube live feed on a WordPress page. To do this, you must first click on the ‘Embed’ button at the top.
This will open up the ‘Embed Feed’ prompt. Here, click on the ‘Add to a Page’ button to continue.
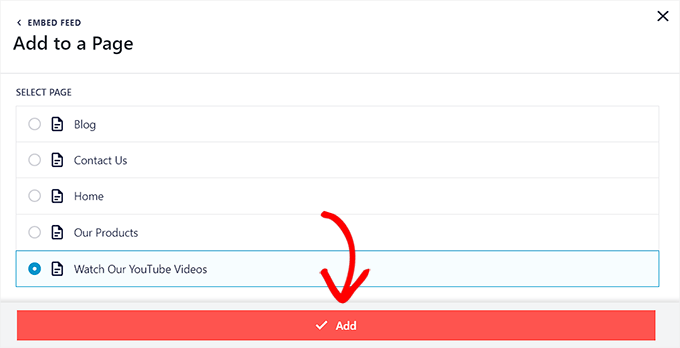
The popup will now show a list of all the WordPress pages on your website.
Simply choose the page where you want to embed the YouTube live stream and click the ‘Add’ button.
The page you selected will now open up in the block editor.
From here, you need to click the ‘Add Block’ (+) button in the top left corner and search for the ‘Feeds for YouTube’ block.
Once you have found it, add the block to your page by clicking on it.
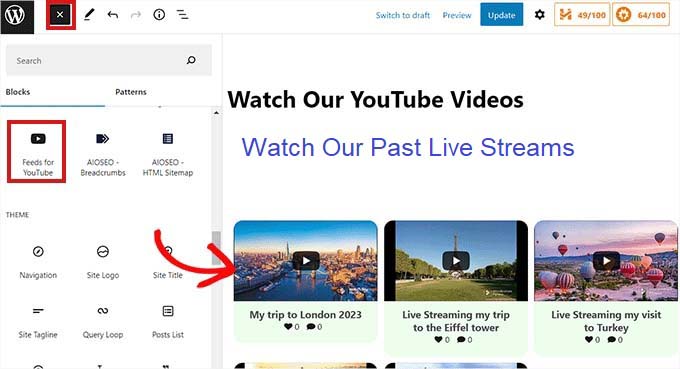
Don’t forget to click on the ‘Update’ or ‘Publish’ button to save your changes or make them live.
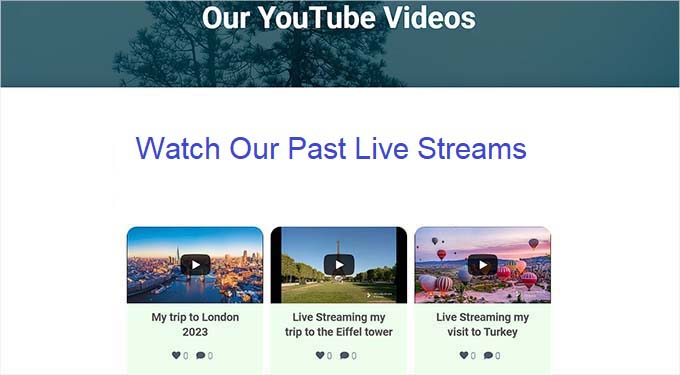
This is how the YouTube live feed looks on our demo website.
Add a YouTube Live Feed as a Widget
You can also add a YouTube live feed to the WordPress sidebar as a widget.
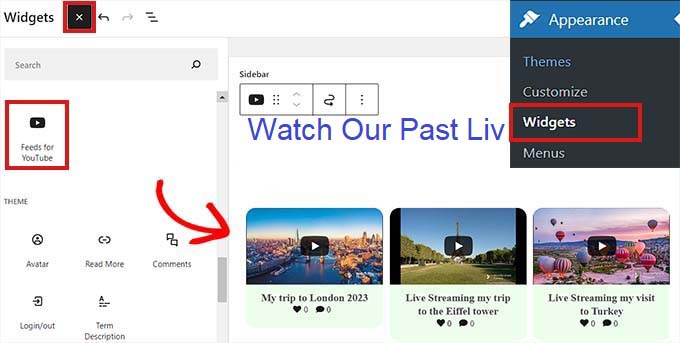
First, you will need to visit the Appearance » Widgets page from the admin sidebar.
From here, click on the ‘Add Block’ (+) button in the top left corner of the screen and locate the ‘Feeds for YouTube’ block.
Next, click on the block to add it to the widget area.
Don’t forget to click on the ‘Update’ button to save your changes.
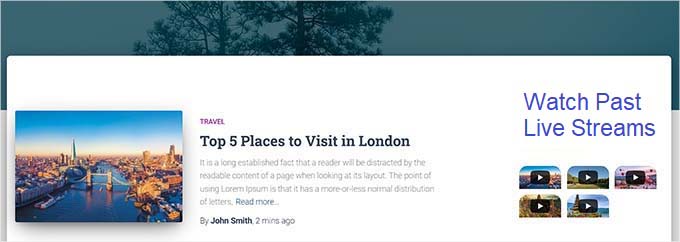
This is how the YouTube live feed looks in the sidebar on our demo website.
Add a YouTube Live Stream in the Full Site Editor
If you are using a block-based theme, then this method is for you.
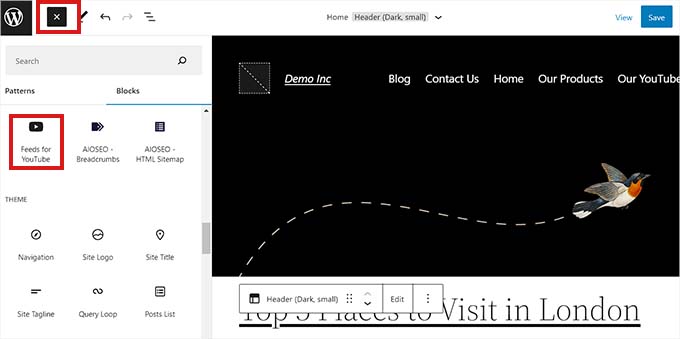
First, go to the Appearance » Editor page from the admin sidebar to launch the site editor.
From here, click on the ‘Add Block (+)’ button at the top and look for the ‘Feeds for YouTube’ block.
Next, you can drag and drop the block to wherever you want to display the YouTube feed on your page.
Once you are done, don’t forget to click on the ‘Save’ button to apply the changes.
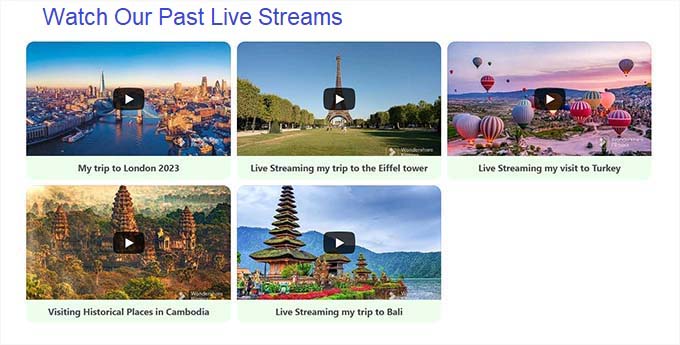
Here is a preview of the live streams on our demo website.
We hope this article helped you learn how to embed YouTube live streams in WordPress. You may also want to read our ultimate WordPress SEO guide or check out our top picks for the best social media plugins to grow your site.
If you liked this article, then please subscribe to our YouTube Channel for WordPress video tutorials. You can also find us on Twitter and Facebook.
The post How to Embed a YouTube Live Stream in WordPress first appeared on WPBeginner.
[ad_2]
Source link