[ad_1]
Do you want to use WordPress to manage your files and documents?
You may have spreadsheets, images, and other documents that you need to share with the rest of your team. By uploading these files to WordPress, you can easily collaborate with other people, or simply keep these documents within easy reach on the WordPress dashboard.
In this article, we’ll show you how to use WordPress as a document management or file management system.

Why Use WordPress to Manage Documents and Files?
It’s easy to lose track of documents when you use lots of different tools. For example, you might share drafts using a platform like Google Drive, track the edits with a tool like Asana, and communicate with editors and guest bloggers using Slack.
The problem is that it’s easy to lose track of a project when you’re using so many different tools. By using WordPress to manage your documents, you can keep everything in one place. This will save you time and effort, and make sure you never lose important files.
That said, let’s see how to use WordPress to manage your documents and files easily.
Setting Up Your WordPress Document Management System
The easiest way to set up a document management system in WordPress is by using WP Document Revisions. This plugin allows you work on files with other people, store documents online, and see a complete revision history for each document.
First thing you need to do is install and activate the plugin. For more details, see our step-by-step guide on how to install a WordPress plugin.
Upon activation, you’ll see a new ‘Documents’ option in the left-hand menu. To upload a document to WordPress, head over to Documents » All Documents. Then, click the ‘Add Document’ button.

Next, you need to give the document a title. This should be something that helps you identify the document, especially if you share the WordPress dashboard with other people such as guest bloggers.
With that done, click the ‘Upload New Version’ button.
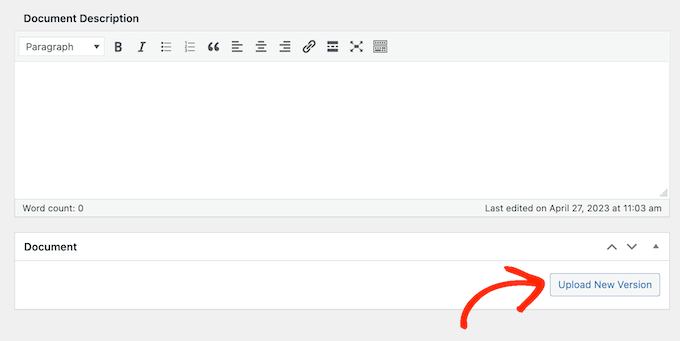
This opens the ‘Upload Document’ popup, which works similarly to the standard WordPress media library.
You can either drag and drop your document onto the popup, or click ‘Select File’ and then choose a file from your computer.

WP Document Revisions will now upload the file to WordPress.
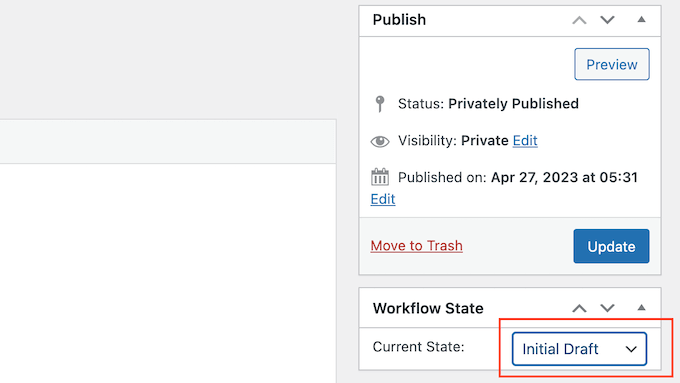
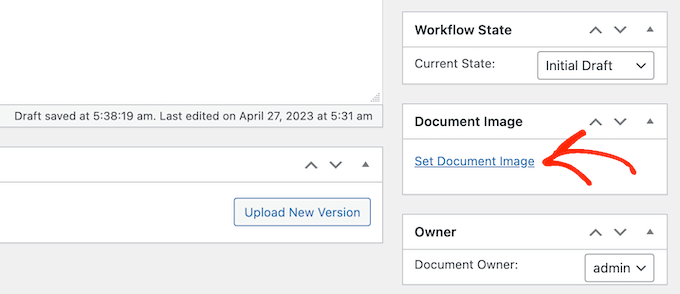
With that done, you can set the document’s workflow state. If you share the dashboard with other people, then this lets everyone know that the document is an initial draft, under review, in progress, or in some other state. This can help you avoid misunderstandings and improve the editorial workflow in multi-author WordPress blogs.
Simply open the dropdown under ‘Workflow State’ and then choose an option from the list.
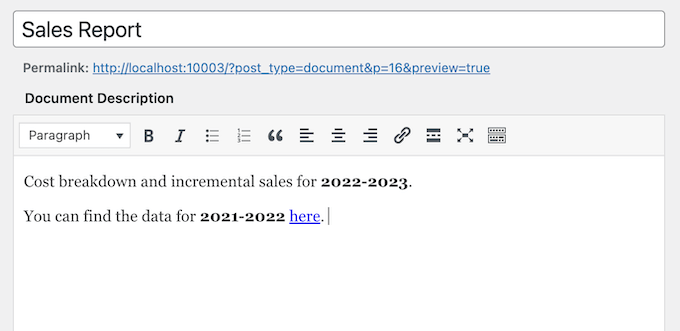
Next, you may want to add a description, which will help other users understand what the file is about.
To do this, simply type into the text editor. This section includes all the standard text formatting options, so you can add a link and create bullet points and numbered lists, as well as add bold and italic formatting and more.
You may also want to add a document image, which can help users understand the file or provide extra information, similar to an index or appendix.
The process is similar to adding a featured image to WordPress posts and pages. Simply select ‘Set Document Image’ and then either choose an image from the media library or upload a new file from your computer.
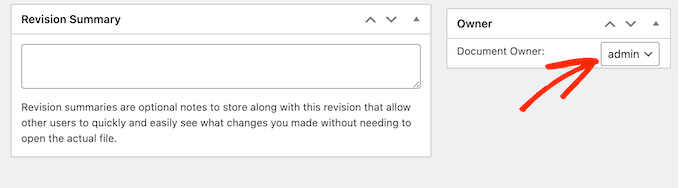
When you upload a file, WP Document Revisions marks you as the document’s owner.
To assign this file to someone else, just open the ‘Owner’ dropdown and choose a new user from the list. This can help keep your documents organized, especially if you’ve added lots of users and authors to your WordPress blog.
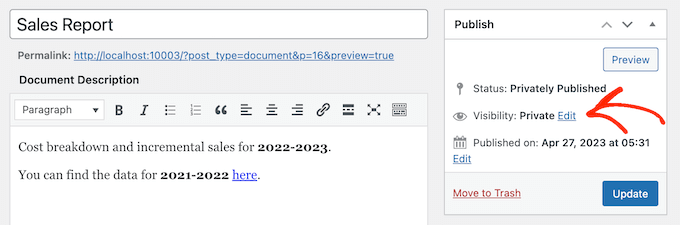
By default, WP Document Revisions will publish the file privately, so only logged-in users can see it.
Another option is to publish the document to your WordPress website, so people can access it without logging into the dashboard.
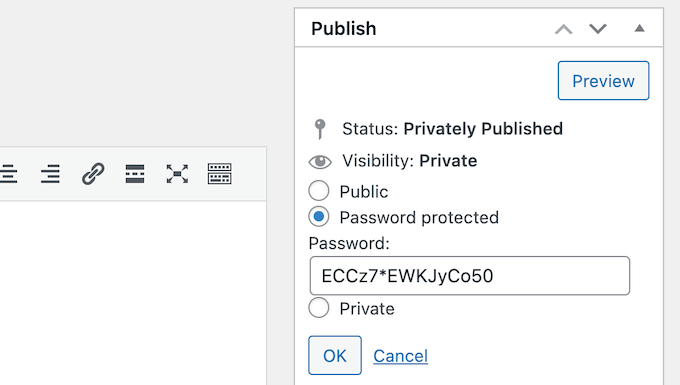
Even if you publish the document, it’s still a good idea to add a password by clicking on the ‘Edit’ link next to ‘Visibility.’
Then, select ‘Password protected’ and type a secure password into the ‘Password’ field.
With that done, click on ‘OK’ to save your changes.
Don’t want to use a password? Then you can follow the same process described above, but this time select ‘Public.’
No matter how you publish the file, WP Document Revisions will show its URL directly below the title. People can see the file by visiting this URL.
To create a custom permalink instead, click on the ‘Edit’ button.
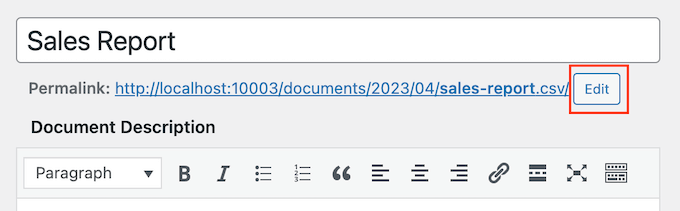
Then, type in the new URL and click ‘OK.’
When you’re happy with the information you’ve entered, click on the ‘Update’ button to save your settings.
Managing Document Revisions and Workflow States in WordPress
WP Document Revisions also has powerful version control features. This can help you collaborate with other people, by showing a document’s entire history. You can even open previous versions of the file, and restore an earlier version at any point.
Every time you upload or update a document, you can type a note into the Revision Summary.

These notes will appear in the revision log towards the bottom of the screen, next to the name of the person who made the update.
If the update included a new file upload, then you’ll also see a ‘Revert’ link.

Simply click the link to restore this version of the document. Even if you revert to an earlier version of the file, the history will remain intact so you won’t lose any information.
Customizing and Creating Your Own Workflow States
Workflow states make it easy to see whether a document is an initial draft, in progress, or some other state. Similar to how you save blog posts as drafts or published, states can improve the editorial workflow.
WP Document Revisions comes with four default workflow states: final, in progress, initial draft, and under review. You may need to change these default states, or add more states. For example, if you’re creating a client portal then you might make a ‘under client review’ state.
To change the workflow states, go to Documents » Workflow States. If you want to customize an existing state, then just hover over it and click on the ‘Edit’ button.

This opens an editor where you can change the name, slug, and description of the workflow state. This is similar to how you edit categories and tags in WordPress.
Once you’re done making changes, click the ‘Update’ button.

You can also add new workflow states.
In Documents » Workflow States, type in a new name, slug, and description. Then, click the ‘Add New Workflow State’ button.

Managing User Roles and Document Access in WordPress
WP Document Revisions assigns different document editing capabilities to people, based on their user role. For example, authors can’t edit documents published by other people or read privately-published documents.
The default permissions should be a good fit for most websites. However, if you want to review and change any of these settings, then the easiest way is by using Members. This plugin allows you to customize the permissions for every user role, and even create completely new roles.
The first thing you need to do is install and activate Members. For more details, see our step-by-step guide on how to install a WordPress plugin.
Upon activation, go to the Members » Roles page to see all the different user roles on your WordPress website.
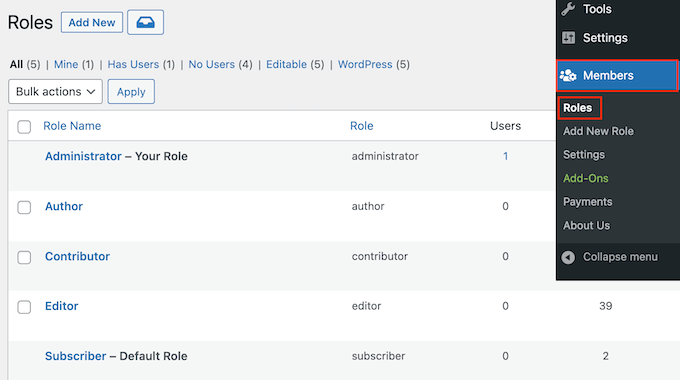
Here, hover your mouse over the user role that you want to modify.
You can then go ahead and click on ‘Edit’ when it appears, which opens the user role editor.
The left column shows all the different types of content such as reusable blocks and WooCommerce products.
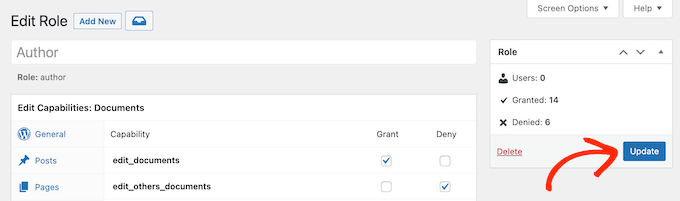
In the left-hand menu, click on ‘Documents.’
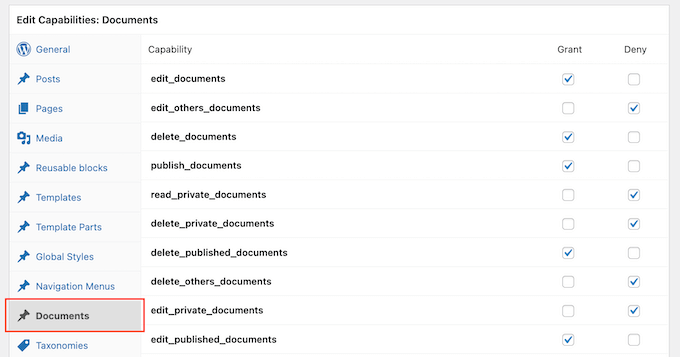
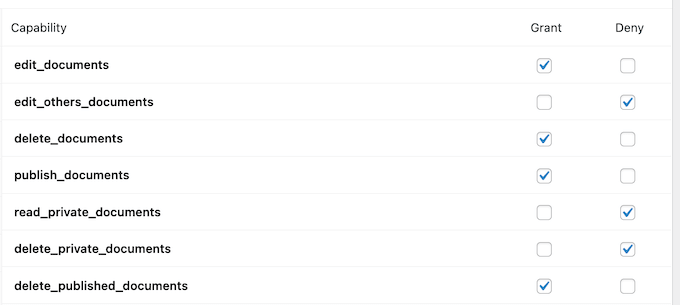
You’ll now see all the permissions this user role has, such as the ability to delete another person’s files or edit their own documents.
Simply click on the ‘Grant’ or ‘Deny’ checkbox for each permission.
When you’re happy with the changes you’ve made, click on ‘Update.’
For a more detailed look at the Members plugin, please see our guide on how to add or remove capabilities to user roles in WordPress.
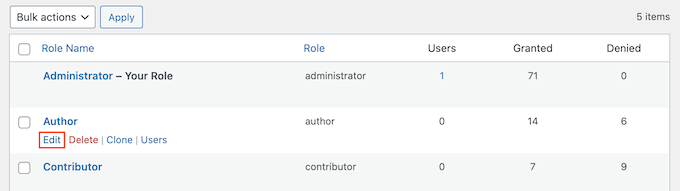
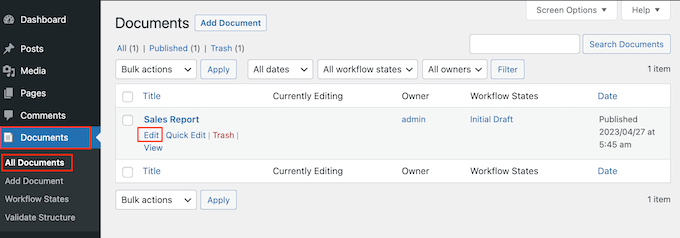
After installing this plugin, you can even control who has access to each document. Simply head over to Documents » All Documents.
Here, hover over any file and click on the ‘Edit’ link when it appears.
Now, scroll to the new ‘Content Permissions’ box. Here, you’ll find a list of all the user roles on your WordPress blog or website.
Just check the box next to each role that needs to access this document.
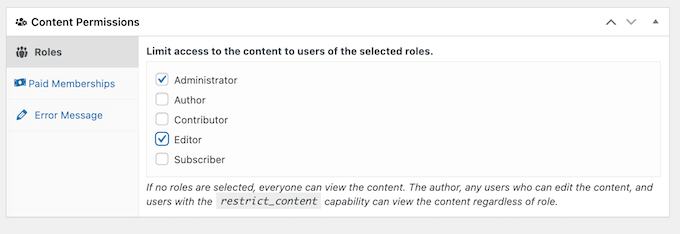
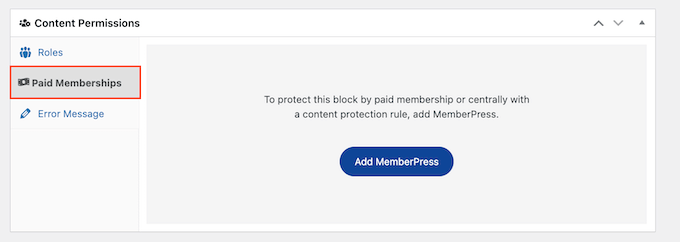
In this section, you’ll also see a Paid Memberships tab. This allows you to restrict access to paying members.
For more information, please see our ultimate guide to creating a WordPress membership site.
When you’re happy with the changes, click on ‘Update’ to save your settings.
We hope this article helped you learn how to use WordPress for document management or file management. You may also want to see our guide on how to create a free business email address and our expert pick of the best live chat software for small businesses.
If you liked this article, then please subscribe to our YouTube Channel for WordPress video tutorials. You can also find us on Twitter and Facebook.
The post How to Use WordPress for Document Management or File Management first appeared on WPBeginner.
[ad_2]
Source link